For reals. I found some fabric and trim in a box in the basement awhile ago that belonged to Mike's grandma. There was some crazy fabric that will probably end up in the dress up bin (you know, someday, when Mim wants a dress up bin), some crocheted lace, some ribbon, and some really cool, vintage-y florals. Also this:
{Published in 1976}
I've been meaning to make some headbands (or rather, embellish some I had), so I decided to use that fabric (which is perfect, since I like things with meaning so much). And so:
{I did my hair so I could take some self-modeled pictures, so I had to post this picture, despite the Creepy McCreeperson face I'm pulling}
A note about the headbands themselves: I spray painted them. They were originally black, tortoiseshell, and clear.
{The texture on the headband is because I sprayed the paint on really thick so it would do that crackled, rumply thing it does that I usually do on accident. Then I did a light coat over that after it dried.}
Number 2:
{Simple foldy flower, then glued a pearl on. About the pearl- I always salvage all my old jewelery that's broken. I can't remember what happened to the necklace this used to be a part of, but now I have a bunch of big fake pearls to use on stuff.)
Number 3:
No picture of it on my head (big sigh of relief from everyone) because I didn't do it until tonight and the lighting would not be normal. The little metal bit comes up right behind my ear and used to be a part of the necklace I wore to my senior prom. The ribbon was one of the grandma finds. You can see in the background where the paint got a little drippy on the underside. I'm excited that now I have headbands. The other ones I've made are all fabric and reversible, which is nice, but I love that I can pull these on and off and they stay in place- even though the yellow one, which is thickest, gives me a headache after too long because it squishes my big head. Worth it.
Mike and I (really just Mike) removed the closet door when we moved into our house because he was refinishing the bedroom floor. It's been two years, and we haven't put it back on. For the first year, it was mostly just laziness, but this last year it's been a conscious decision. Here's why:
{Funny story- You know that laundry basket you can see in the reflection? It had been next to the closet, I thought I had moved it out of the picture. Ha!}
The door with the mirror on it goes out into the hall. You couldn't have the closet open and the door open. The doors kept banging into each other, it just bugged me, more reasons...etc... I didn't like it. The inspiration for the new closet door struck awhile ago. It was this post on Ruffles and Stuff. (By the way, I sure will miss Disney's posts. What a talented crafter/sewer/blogger/photographer.) I saw that shower curtain and realized that the same thing would work for my (teensy tiny) closet. And so...
I used an old king sheet. Cut it up, used as many of the existing hems as I could, and hung it up on a 2$ tension rod from WalMart. I'll probably add some trim across the top ruffle, like Disney did, to hide the unfinished edge there, but first I have to figure out what trim. I like it. And my husband's one concern, closet accessibility, has been resolved:
It squishes down most satisfactorily. More pictures! I took it outside today for an official photo shoot- I'm not going to lie, I wanted to copy Disney's pictures of her shower curtain. Mine are not as good.
{Don't you think the bottom looks like the train on a wedding dress? Don't you think I'm crazy for waxing poetic about an ex-sheet?}
I love these shirts from Garnet Hill. I also love almost everything else in the catalog. Seriously. I keep a hard copy inspiration binder and I ripped out probably half of the pages in the latest GH catalog, and that was me trying to tone it down. Anyway. These shirts are great. They're also 44$. Forty-four dollars.
So, I went to Walmart and got two 2$ tees. One in my size, and one XL to cut up (because I figured, hey, for the same price, why not get more fabric?). I cut out a bunch of flower shapes first:
I cut the shirt into strips, folded the strip in half, cut that into segments, then cut these little shapes out. I wanted them kind of elongated in one direction, since I'd be gathering them in that same direction. Soon I had quite the little pile:
Some of them turned out pretty crazy, but that's ok. You can't tell once they're on the shirt.
Next, I did a gathering stitch down the middle, going long-ways. I did some singles, but mostly doubles, like the one pictured above. Then I gathered by pulling on my bobbin threads. After it was gathered, I pulled the top threads to lock that sucker down. After I had gathered all of them, it was time to place them on the shirt. I put on the shirt and pinned the leaves in place, as guidelines. Also, to make sure I didn't have any leaves pointing anywhere awkward (you know what I mean). I chose to hand sew most of my flowers on. I started with my machine, but once I got to where they were really close together, I switched, because I'm sure my machine (which is a monster and only goes moderately fast and super fast- it stalls if I try to sew slowly) would have gone crazy and gotten away from me and sewed everything down flat, when I wanted the same loose, almost ruffly look of the Garnet Hill shirt. So. I sewed by hand. Then I put it on, realized that my buxomness caused it to look more sparse than it did lying flat, so I took it off, cut, gathered, and applied more fabric flowers. And then...
(It is unexpectedly hard to take a decent picture of yourself in the mirror. Or I am uncommonly bad at it.) I love it. It's not the same fabulous green as the one from Garnet Hill, but for an eleventh of the price, I'm cool with that.
The other day I took all my little accessories down in the living room and redistributed them. I set up my mantle, but it needed something else. Then I remembered this little thing in the basement:
It's from when I was first learning to use my jigsaw (this picture was taken after I fixed it up a little bit). It was the smaller rough draft of this monogram. Then I thought of this wreath, so I decided to wrap this guy in twine.
It took about 15 minutes, plus burning all of my fingers a million times (is there such a thing as a glue gun that doesn't just keep getting hotter and hotter and hotter and hotter...?) It was just what my mantle needed, though.
I also did another little twine type project after I did this. You know those wine jugs that PB had awhile ago? The ones covered in hand-knotted jute? (I couldn't find a picture online, but I did find them in my catalog) Well, I have some old cider or vinegar jugs that I found in the basement, and the bag around these (from IKEA):
Some slight modifications to the bag, and ta-da! See it in the background? Those are my sands in front. Geologically cool sands. Ooids, garnet sand, and a bunch of little shells.
I made the form that went in the cover as well. Mike and I seem to accumulate pillows. Like old standard size bed pillows. They're in the top of our hall closet, under Mim's crib, in the basement, everywhere. So I decided to convert some of them into throw pillows. I actually decided that forever ago, but I haven't had the courage to commit to a fabric. Thus, this endeavor started when I saw some monk's cloth at the fabric store. I loved it. So soft, but with so much texture. Plus, it was neutral! It's like all those burlap pillows out there, but soft and usable (no offense to the burlap pillows, they look great). Anyways, here's the beginning:
(This was late last night and it was dark- don't judge my crappy picture. Also, don't judge my crappy pictures when it's light outside.)
I cut it open and took out the stuffing. I had thought I would reuse the outside of the pillow, but changed my mind when I saw how not-white-anymore it was. So I used the pillow case it had been in.
I cut it off so it would be a square after it was finished (which meant leaving it 3/4 of an inch longer than the already finished side). Then I pressed it under 3/4 of an inch and sewed it mostly closed.
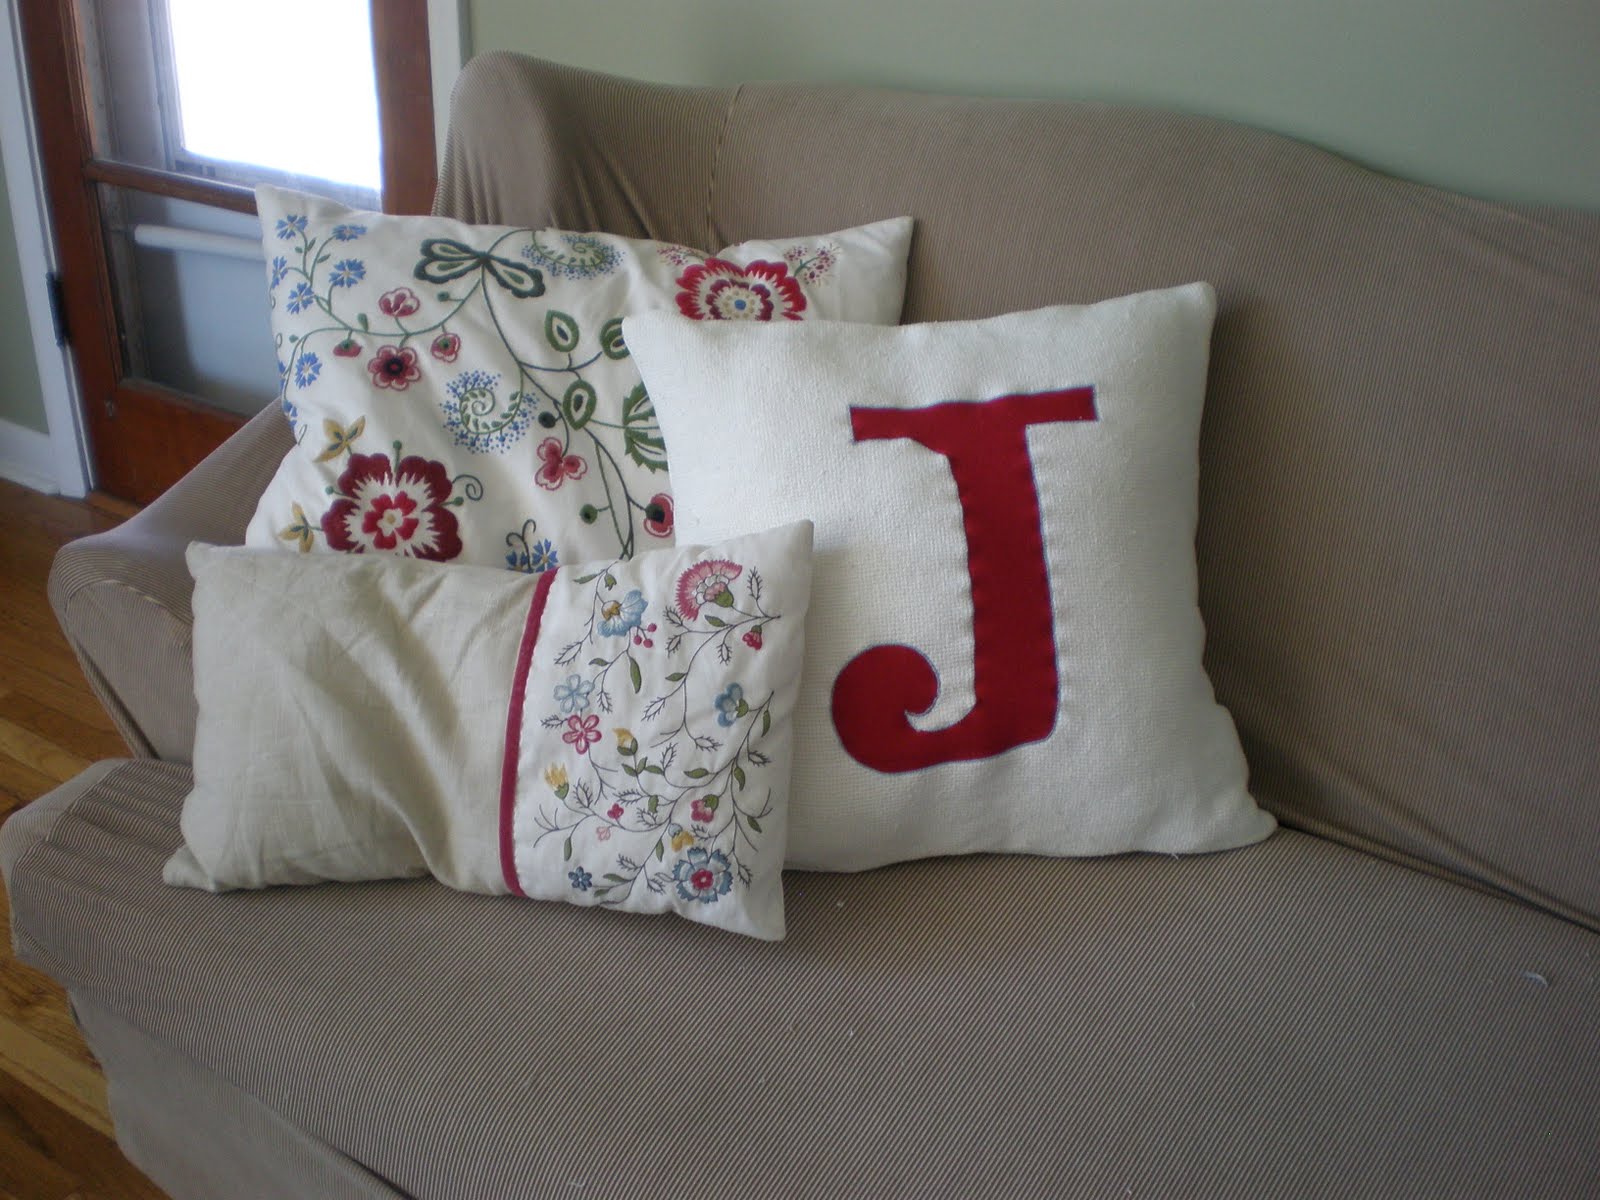
Then I stuffed it and finished it off (on the machine- no need to hide seams, since it was just going to be in a slipcover). Then there were some steps I didn't take pictures of. I used a red knit and heat and bond to adhere my letter to the front of my pillow cover, then used a close zig zag around it.
Then I hemmed the two back pieces (which overlapped about 5 or 6 inches, unfinished).
I hemmed them down about 3/4 of an inch, then ran another stitch really close to the top, since it's a thick material and I just didn't think pressing it was going to cut it.
Then I set it all out, and pinned it. I zig zagged along all the raw edges, then straight stitched about 3/4 of an inch in, so I could be sure I was off the fraying bits. Then I turned it right side out, put my new pillow form in it, and voila!
Another evidence of my recent obsession with monograms.
This is what I did with the bottom part of the onsie. It's just a diaper cover- but so easy to make. These would have been super handy if Mike and I hadn't gotten air conditioning this year. Last year, when it would get up past 80 degrees in the house, I would just have Mim hanging out in her diaper. That wouldn't have worked this year- if the velcro tabs aren't covered, she loves pulling on them and subsequently taking off her diaper, which I don't love. At all. So here's how it goes:
You cut off the snaps from your bottom onsie piece.
Then you pin right sides together and straight stitch, leaving about a quarter inch seam. I used 3/4 inch elastic for the top- I made a casing, leaving a gap before I went all the way around to insert my elastic. I threaded the elastic in, sewed it together, then closed the casing. That was it. I also added some contrast stitching along the leg holes. There you go:
My original plan with the white ones was to sew a fly on them to make them look like little boy undies, but I thought I'd take the pictures before I attempt that. Wouldn't that be cute, though? A little one year old running around in what appears to be big boy undies? I think I'll finish the white ones like that and send them to my nephew in Philadelphia. The possibilities don't stop there, though- you could put ruffles on them and instead of a ruffle bum onsie (which are so popular right now), you'd just have a ruffle bum! Or you could do a little bum applique, or ruffles around the leg holes, or...anything! I'm glad I have so many onsie bottoms to experiment with.
It almost makes me wish we didn't have air conditioning, so Mim could just be running around in these when we're home. I suppose I'll just have to plan on them being under dresses and then count on Mim lifting her dress up to show people her "eek" (bellybutton). Fun fact about bellybuttons: if you undo yours, your butt will not, in fact, fall off. That's what we told my little brother for years. Update:
Here they are with boy underpants lines on them. I'll probably go over them a few more times to make them more obvious before I send them to my nephew, but I think they're hilarious.
I have a two month old nephew, and I started planning for some appliqued tie onsies before he was born. Remember this post, when I realized applique was not going to be as easy as I hoped? Well, I checked out a few different methods on craft blogs and realized that Heat N Bond was key. And so:
I branched out from my original tie plans, as you can see, but I still made a few for when baby Hugh's feeling especially dapper:
And now, some close ups:
I free-handed all the designs, and for the dinosaur I used a straight stitch on the spinal ridge and a zig zag around the body. The ridge will fray some after it's washed, which I did on purpose.
I double zig zagged all around the edges of the plaid square, then hand stiched around the felt "h" with thread I quadrupled.
The star is also felt, but I used embroidery floss around the edges.
The elephant just has a single zig zag around it. I'm really excited about the way they turned out- Heat N Bond really did make it super simple. That stuff is great.