10.25.2010

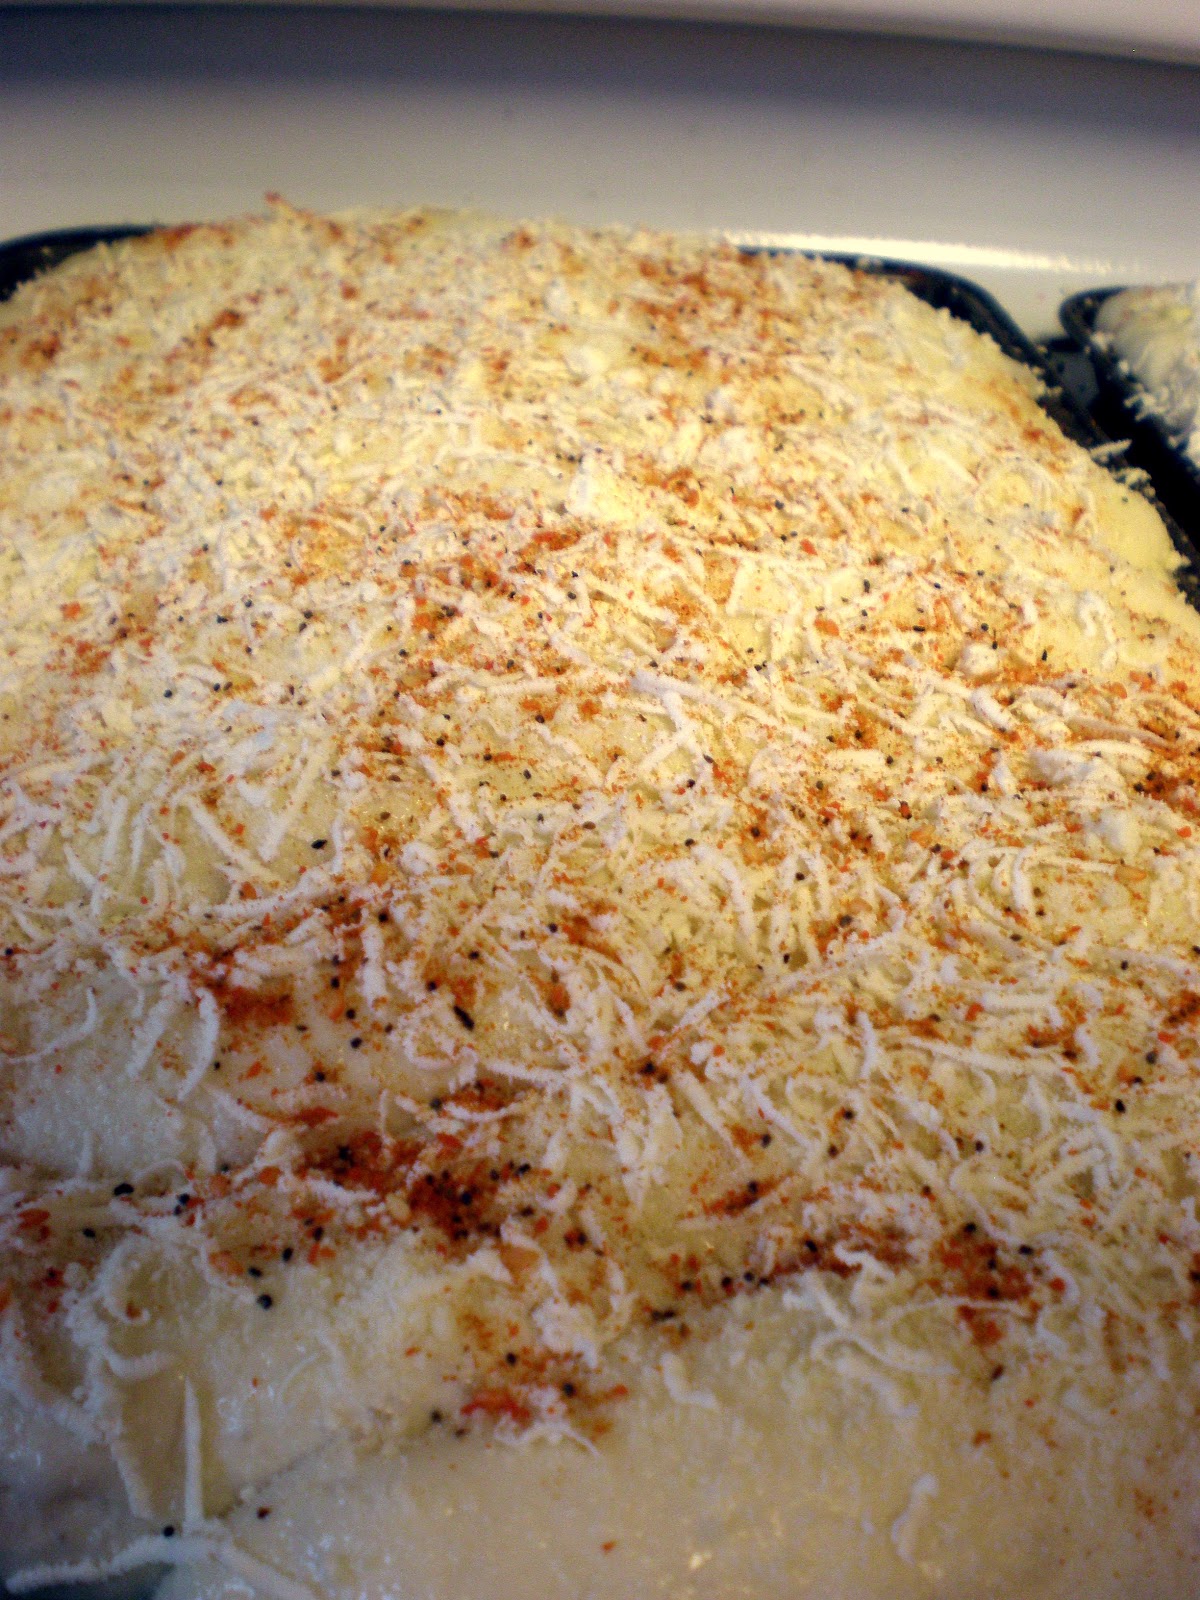
The best breadsticks in the world. Seriously.

Hello, all.  I would like to introduce you to the best breadsticks EVER:
Their hobbies include being buttery and delicious, as well as being easy to make.

I've only ever posted one other recipe on this blog, so this is definitely something special.  Here's where it starts:
Defrosting Rhodes Rolls in the fridge the night before.  You need 22 per pan.  I made 3 pans yesterday, so I defrosted 66 of them- pretty much an entire big bag.  

And now, here's where the delicious begins:
Melt an entire stick of butter, then pour it in a pan:
Then cover all that butter with parmesan cheese:
Mmmm-hmmm.  We're off to a great start.
Take your 22 balls of dough and roll them out and put them in the pan on top of all that butter and parmesan:
 More appetizing/artistic angle:
Then, let them raise until they look like this (or maybe slightly smaller- these ones raised a little too long):
About this time you want to preheat the oven to 350 degrees.
And now it is time for the most delicious part.  I actually tried this 3 different ways on Sunday, but then never got to do my planned side by side taste because right after the last batch got out of the oven we had to get to my in-laws, and then not long after we got there Mim burned her fingers on the glass fireplace front (blisters on 4 of her fingers- it was so sad).  Anyway, I'll tell you all about my variations so you can have a taste test of your own.
The way my mom does it and how I usually do it starts out with squeezy butter.  Then you cover generously with more parmesan cheese (either the powdery stuff or fresh grated, it doesn't matter), feta, and just a sprinkle of Salad Supreme (sounds weird, but you should still do it).  Here's how it looks once that's all done:
Like a delicious breadstick party.  I used to do a single line of squeezy butter down the middle of each roll, but I got lazy.
My method I made up the other day was the same, except instead of using squeezy butter, I melted real butter and put it in a spray bottle:
That's a whole stick of butter in there.  I found out you only need a half stick per pan.  Without the squeezy butter, the pan looks a little less festive:
For the third variety, I used squeezy butter and real butter from the spray bottle (I know, I live on the wild side).  Maybe it was overkill, but I had already squeezy buttered two of the pans, and I didn't want to waste the rest of the butter I had already melted.  

Bake them at 350 degrees on a middle rack for about 15 minutes.  They're still pretty soft at that point- if you like crustier breadsticks, you'd probably only need to add a couple minutes.

Take them out of the oven, let them cool down enough to pull apart, and have at it.  
They really are the best ever.


***UPDATE 1/12/12***
A few weeks ago for a baby shower I used home made roll dough instead of Rhodes for these (the Lion House roll recipe, if you're curious), and I have to say, I don't think it made a real difference.  They were softer, but they still just tasted like butter and parm and feta (which is how it should be).  And the softness wasn't necessarily desirable for a breadstick.  From now on I'm just going to stick to Rhodes- so easy.


10.21.2010

Gettin' spooky up in here

I've never decorated for Halloween before (except for when I was 8 or 9 and I would take a big stack of computer paper, draw pictures of ghosts and pumpkins on every sheet, and then hang them in all the windows) and this still might not count, but at least it's something.

See?
All I did was wrap some branches that I already had up with some fake cobwebby stuff.  It's not much, but I like it.
There's some on top of the piano

and some on the mantle.
Maybe next year I'll have Halloween stuff in three places. 


10.19.2010

New brooch

Well, I don't have a pin for it yet, but it will be a brooch. 


Here's how I made it:
Cut out a bunch of circles from a polyester-containing fabric.  That smaller circle is my base circle.
Grab a circle in the middle and squish it up.
 Then cut off the bit where you were holding it (this probably isn't necessary, but I did it to reduce bulk when I glue everything to the base circle.
Put some hot glue on the cut off squished up end, to help preserve the pinched-ness.
Then make a glue puddle on your base circle and stick the squished end into it.
Repeat.
You could leave it all fray-y like this, but I took it one step further (because I live on the wild side).
That's it!  Glue it to a headband or a brooch pin (like I will do as soon as I remember to buy one) and voila!
It probably looks more like a carnation than anything else.  I like it.


10.17.2010

More paper crafting

So, if you didn't know, I'm LDS.  You know, a Mormon.  And my new calling in my ward is the primary music director.  For those of you who aren't Mormon, that means that every Sunday I teach songs to kids/try to get kids to sing.  For the very youngest group I teach I'm mostly just singing at them.

It's fun.

And a challenge.

A big part of that challenge is finding a way to teach songs that can appeal to a wide range of age groups (I teach 3 different groups separately- the nursery, which is 18 months to 3 years; the junior primary, which is 4 years to 8 years; and the senior primary, which is 9 years to 12 years), because I don't want to have to prepare 3 completely different lessons/teaching methods each week.  My sister gave me a great idea that I implemented today and thought I'd share with all of you.
Music dice!
One die has some of the songs they've been learning throughout the year, and the other has an adverb.  I get two volunteers, one to roll each die, and then we just do what they say.  Even the older kids, who I was worried wouldn't really care, always wanted to be picked.  Universal appeal.  Sweet.
And...
I just used scotch tape on the back of the white papers- I can switch out what the dice are for as needed.

To make the cubes:
a cardboard box to cut up
so much hot glue (kids are going to throw them, so you want these suckers to be sturdy)


Then I creased some scrapbook paper, cut it to length, and covered up all my messy edges, just using plain ol' Elmer's glue to hold the strips in place.


I hope somebody else out there can use this.


Old fashioned paper crafting

Not that there aren't a million contemporary paper crafts.  Using paper just felt old fashioned to me, since I haven't done anything much with it (except for the occasional card) since I really loved scrapbooking in high school. 
These are for an activity my church is having for mothers and daughters.  There are a few different crafts to work on, and we thought it would be nice to have a few free options for the people who come. 
One of those options are these little paper clip turned picture holder doo dads.  I cut paper the right size, then just glued it on, cutting little slits to allow for the holder bits to stick up.  While I was doing it, I got to thinking just how adaptable these little babies are.  I especially love the thought of them holding food labels at a party- you could just choose paper to match your theme.  Simple and cheap.  That's how I roll.